Understanding authentication in Blazor and ASP.NET Core - Part 4
In this post, we will explore the implementation of a more robust authentication mechanism based on the SAML protocol. Rather than delving into the intricate details of this protocol, we will utilize third-party libraries to facilitate its implementation.
What is the SAML protocol ?
SAML (Security Assertion Markup Language) is an XML-based open standard for exchanging authentication and authorization data between parties, particularly between an identity provider (IdP) and a service provider (SP). It allows single sign-on (SSO) functionality, enabling users to access multiple applications with a single set of credentials. SAML is widely used in enterprise environments to facilitate secure authentication across various systems and services.
SSO stands for single sign-on. It's an authentication process that allows users to access multiple applications or systems with a single set of login credentials (such as username and password). Once authenticated to one application, the user can seamlessly access other applications or services without needing to log in again. SSO enhances user experience, simplifies authentication management for administrators, and improves security by reducing the number of passwords users need to remember.
SAML can be employed to authenticate with various providers (such as Okta or Microsoft Entra ID), which is widely utilized in enterprise environments. Therefore, it serves as a highly suitable use case to observe in action within Blazor.
We will refrain from delving into the intricate details of the SAML protocol, directing interested readers to specialized websites, and instead, opt to utilize a third-party library.
In this section, we will solely demonstrate how to utilize the SAML protocol with Microsoft Entra ID. The image below is sourced from the Microsoft documentation.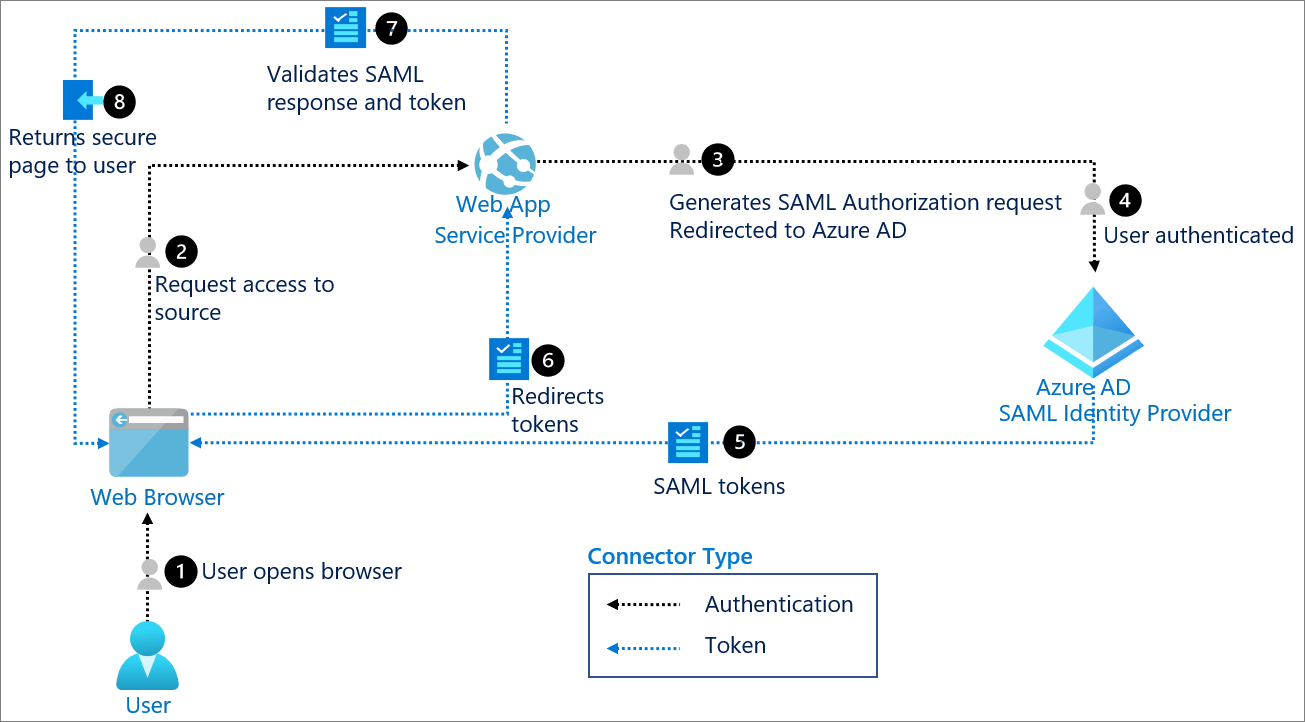
Choosing the library
There are several .NET libraries that implement the SAML protocol. For our needs, we will utilize the one available at this address: Saml2.Authentication.Core.
Please note that this library may not be the most recent or up-to-date. We selected it because it is relatively easy to install and get a functional project up and running. Our objective is simply to illustrate how the ASP.NET engine can be extended to incorporate a custom authentication process.
This library provides instructions on how to configure it, and we will proceed by following these instructions.
Download the code from the GitHub repository (Saml2.Authentication.Core).
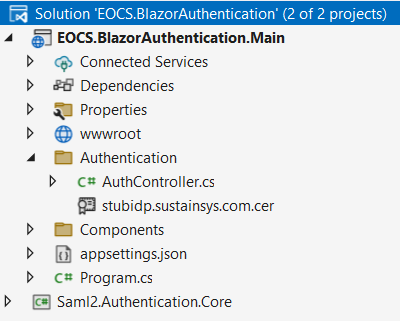
Add this code to our solution and reference the project.

In the appsettings.json file (at the root of the main project), add the following code.
 1"Saml2": {
 2  "ServiceProviderConfiguration": {
 3    "EntityId": "https://localhost:7299/",
 4    "Name": "EOCS.BlazorAuthentication",
 5    "AssertionConsumerServiceUrl": "Saml2/AssertionConsumerService",
 6    "SingleLogoutResponseServiceUrl": "Saml2/SingleLogoutService",
 7    "OmitAssertionSignatureCheck": true,
 8    "Certificate": {
 9	  "FileName": "Authentication\\demowebapp.local.pfx",
10	  "Password": "pass"
11	}
12  },
13  "IdentityProviderConfiguration": [
14    {
15      "EntityId": "https://stubidp.sustainsys.com",
16      "Name": "stubidp.sustainsys",
17      "ForceAuth": "false",
18      "IsPassive": "false",
19      "SingleSignOnService": "https://stubidp.sustainsys.com/",
20      "SingleSignOutService": "https://stubidp.sustainsys.com/Logout",
21      "ArtifactResolveService": "https://stubidp.sustainsys.com/ArtifactResolve",
22      "Certificate": {
23        "FileName": "Authentication/stubidp.sustainsys.com.cer"
24      }
25    }
26  ]
27}
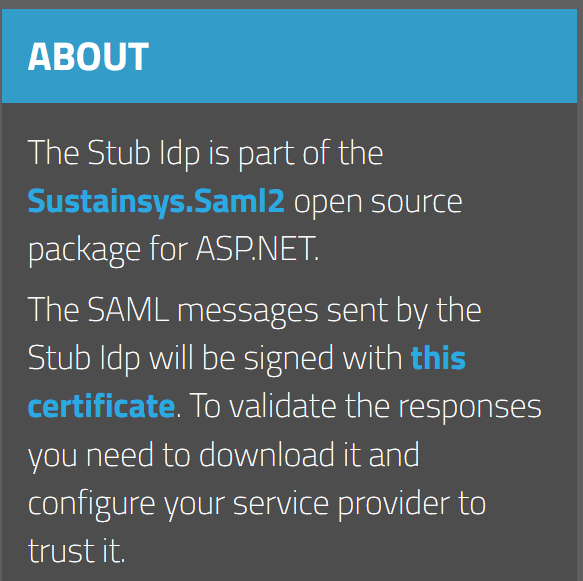
Setting up a SAML-compliant identity provider can be a complex and time-consuming task. Therefore, it's often easier to quickly implement a proof of concept with a fake identity provider, also known as a stub. This is where stubidp.sustainsys.com comes in: it provides a stub that mirrors the behavior of a real identity provider, simplifying the testing and development process.
We will need to download a certificate to validate the response, which can be obtained from the website.
The setup for SAML can be rather intricate, also requiring a certificate for the service provider, which in this case is our application. For simplicity, we're using the one provided on GitHub (named delowebapp.local.pfx). However, in a real-world scenario, we'd need to generate our own certificate.
- Add the following code in Program.cs.
 1// Add authentication options
 2//builder.Services.AddAuthentication("Auth")
 3//    .AddCookie("Auth", options =>
 4//    {
 5//        options.ExpireTimeSpan = TimeSpan.FromMinutes(20);
 6//        options.SlidingExpiration = true;
 7//        options.LoginPath = "/login";
 8//    });
 9builder.Services.AddHttpContextAccessor();
10builder.Services.Configure<Saml2Configuration>(builder.Configuration.GetSection("Saml2"));
11builder.Services.AddSaml();
12builder.Services.AddAuthentication("saml2.cookies")
13    .AddCookie("saml2.ccokies", options =>
14    {
15        options.Cookie.HttpOnly = true;
16        options.Cookie.SameSite = SameSiteMode.None;
17        options.Cookie.SecurePolicy = CookieSecurePolicy.SameAsRequest;
18    })
19    .AddSaml("saml2", "saml2", options =>
20    {
21        options.SignInScheme = "saml2.cookies";
22        options.IdentityProviderName = "stubidp.sustainsys";
23    });
24builder.Services.AddCascadingAuthenticationState();
Firstly, we have commented out the old code responsible for authentication via cookies. Then, we are informing ASP.NET that we intend to utilize the SAML protocol, achieved with the AddSaml() method, and that the required configuration can be found in the appsettings.json file.
Secondly, we are specifying that once authenticated via the identity provider, a cookie named "saml2.cookies" will be stored on the user's browser. The linkage between the identity provider (often hosted on another domain name) and the cookie to be created is established through the following code.
 1builder.Services.AddAuthentication("saml2.cookies")
 2    .AddCookie("saml2.cookies", options => // See above: A user is authenticated if a cookie named saml2.cookies is present on tvhe browser.
 3    {
 4        options.Cookie.HttpOnly = true;
 5        options.Cookie.SameSite = SameSiteMode.None;
 6        options.Cookie.SecurePolicy = CookieSecurePolicy.SameAsRequest;
 7        options.LoginPath = "/login";
 8    })
 9    .AddSaml("saml2", "saml2", options =>
10    {
11        options.SignInScheme = "saml2.cookies"; // A cookie will be stored on the user's browser.
12        options.IdentityProviderName = "stubidp.sustainsys.com";
13    });
14builder.Services.AddCascadingAuthenticationState();
It is crucial that the IdentityProviderName (stubidp.sustainsys) in the Program.cs file matches the one referenced in the appsettings.json file.
The task is not complete yet. Now, we need to implement the plumbing to communicate with the identity provider.
Communicating with the identity provider
- Go to the AuthController.cs class and add the following code.
 1[HttpPost]
 2[AllowAnonymous]
 3[Route("/Auth/SamlLogin")]
 4public async Task<IActionResult> SamlLogin()
 5{
 6    var provider = "saml2";
 7    var redirectUrl = Url.Action(nameof(SamlLoginCallback), "Auth", new { Provider = provider });
 8
 9    var properties = new AuthenticationProperties() { RedirectUri = redirectUrl };
10    properties.Items.Add("LoginProvider", provider);
11
12    return Challenge(properties, provider);
13}
14
15[HttpGet]
16[AllowAnonymous]
17[Route("/Auth/SamlLoginCallback")]
18public async Task<IActionResult> SamlLoginCallback(string provider)
19{
20    var authenticateResult = await HttpContext.AuthenticateAsync(provider).ConfigureAwait(false);
21    if (!authenticateResult.Succeeded) return Redirect("/login");
22
23    var info = authenticateResult.Principal;
24    if (info == null) return Redirect("/login");
25
26    return Redirect("/");
27}
In this code, we are simply directing the browser to navigate to the link of the identity provider (this link is configured in the appsettings.json file). Once the user submits their credentials, they are redirected to the callback (SamlLoginCallback) where it is verified whether the authentication was successful or not.
- Edit the Login.razor file.
1<form action="Auth/SamlLogin" method="post">
2    <button type="submit" class="btn btn-primary">Login</button>
3</form>
Running the program
Upon running the program, the initial step prompts us to log in.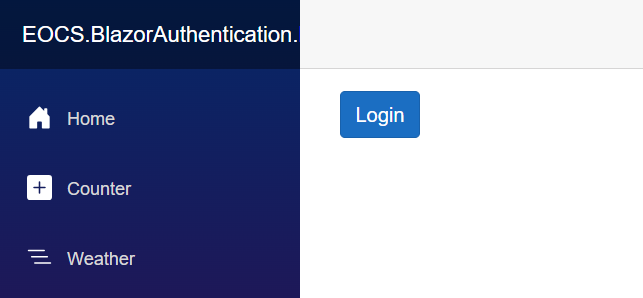
Subsequently, we're redirected to the identity provider, which, in our scenario, is a stub provided by a third party.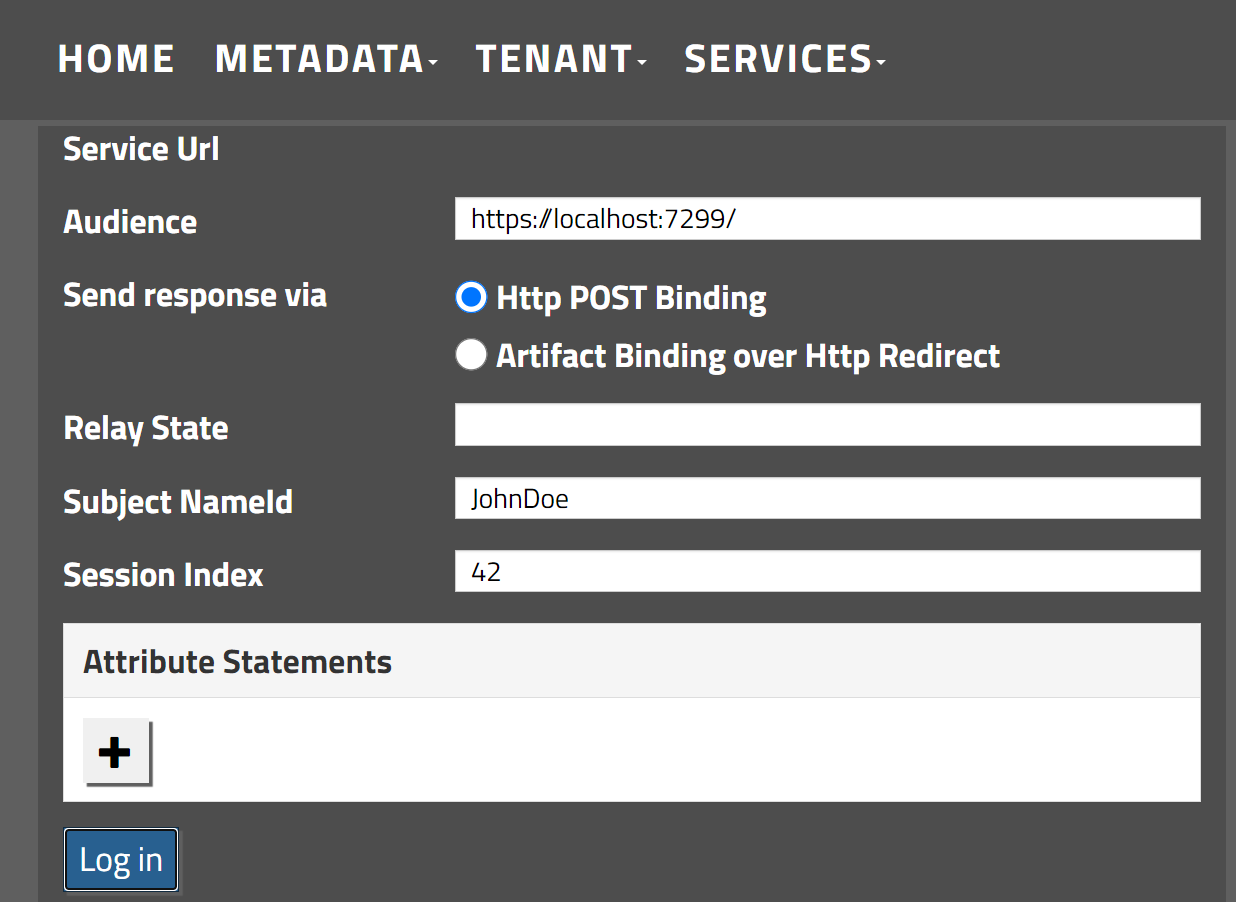
Upon successful authentication, we're redirected to the callback URL, allowing us to generate the authentication cookie.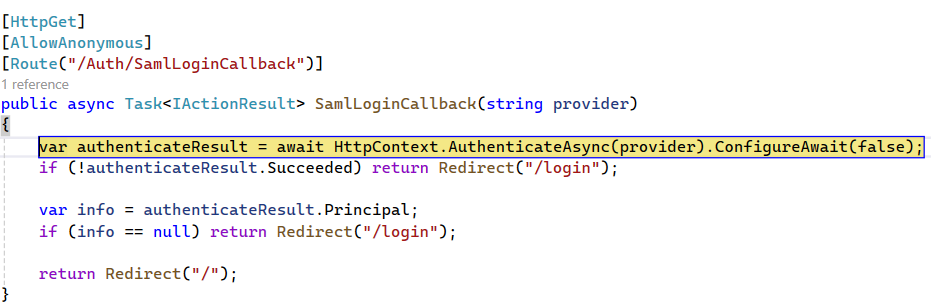
Final thoughts
This series served as a gentle introduction to authentication in ASP.NET Core, with many advanced topics left to explore. Stay tuned for future articles that will delve deeper into these subjects.
The subsequent textbooks prove useful for concluding this series.