Leveraging Selenium, NUnit and C# for UI tests - Part 3
In this article, we demonstrate how to effortlessly obtain the C# code for testing a specific UI, thereby avoiding the cumbersome exploration of the DOM.
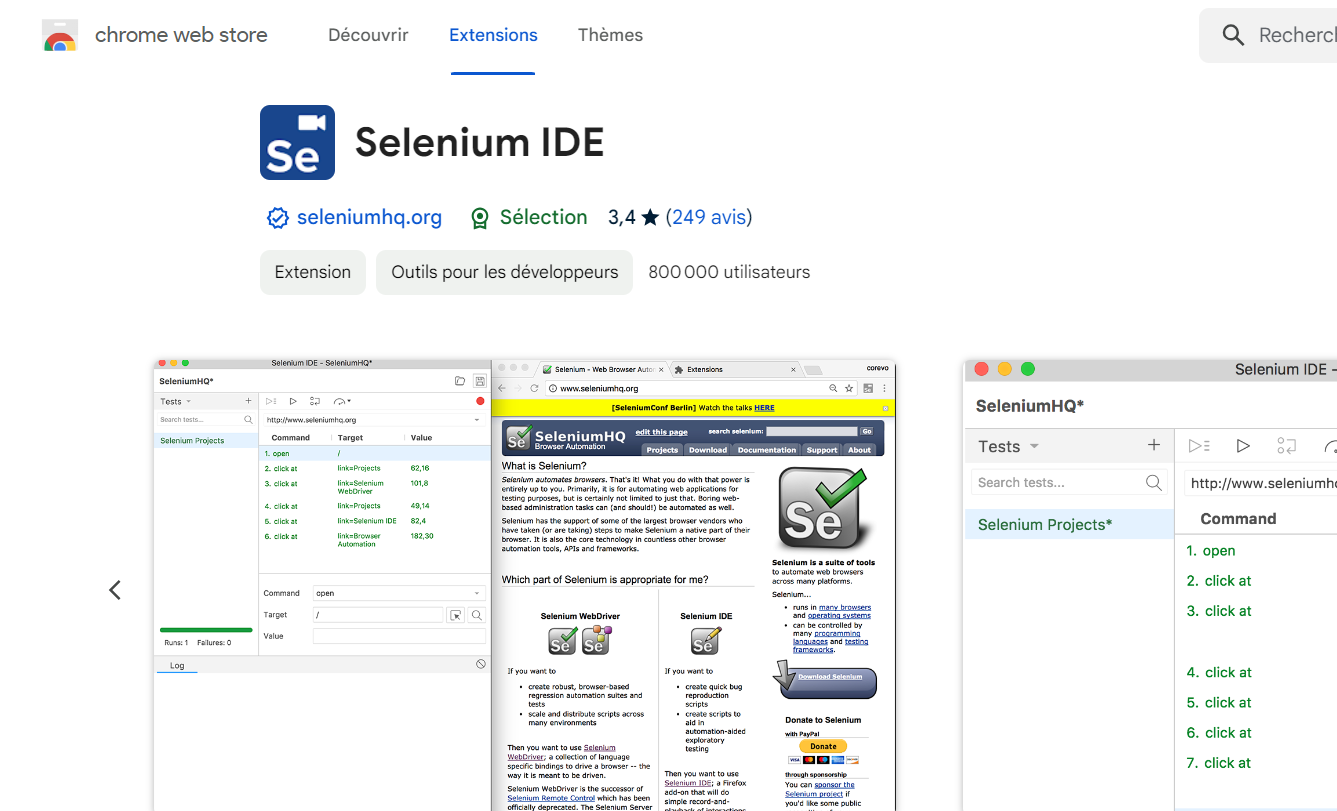
What is Selenium IDE ?
Selenium IDE is a browser extension that facilitates the recording and playback of interactions with a web browser. It is a tool designed for creating and running automated tests for web applications. Selenium IDE is primarily used for quickly generating test scripts without the need for extensive manual coding. The tool records user interactions with the browser and converts them into executable scripts that can be replayed to simulate user actions. It's especially helpful for those who may not be proficient in programming but still want to create automated tests for web applications.
Selenium IDE is particularly useful for quickly generating test scripts, and its simplicity makes it accessible to a broader audience (not only developers).
Installing Selenium IDE
- Go here and install the extension.
- Once installed, open the extension.
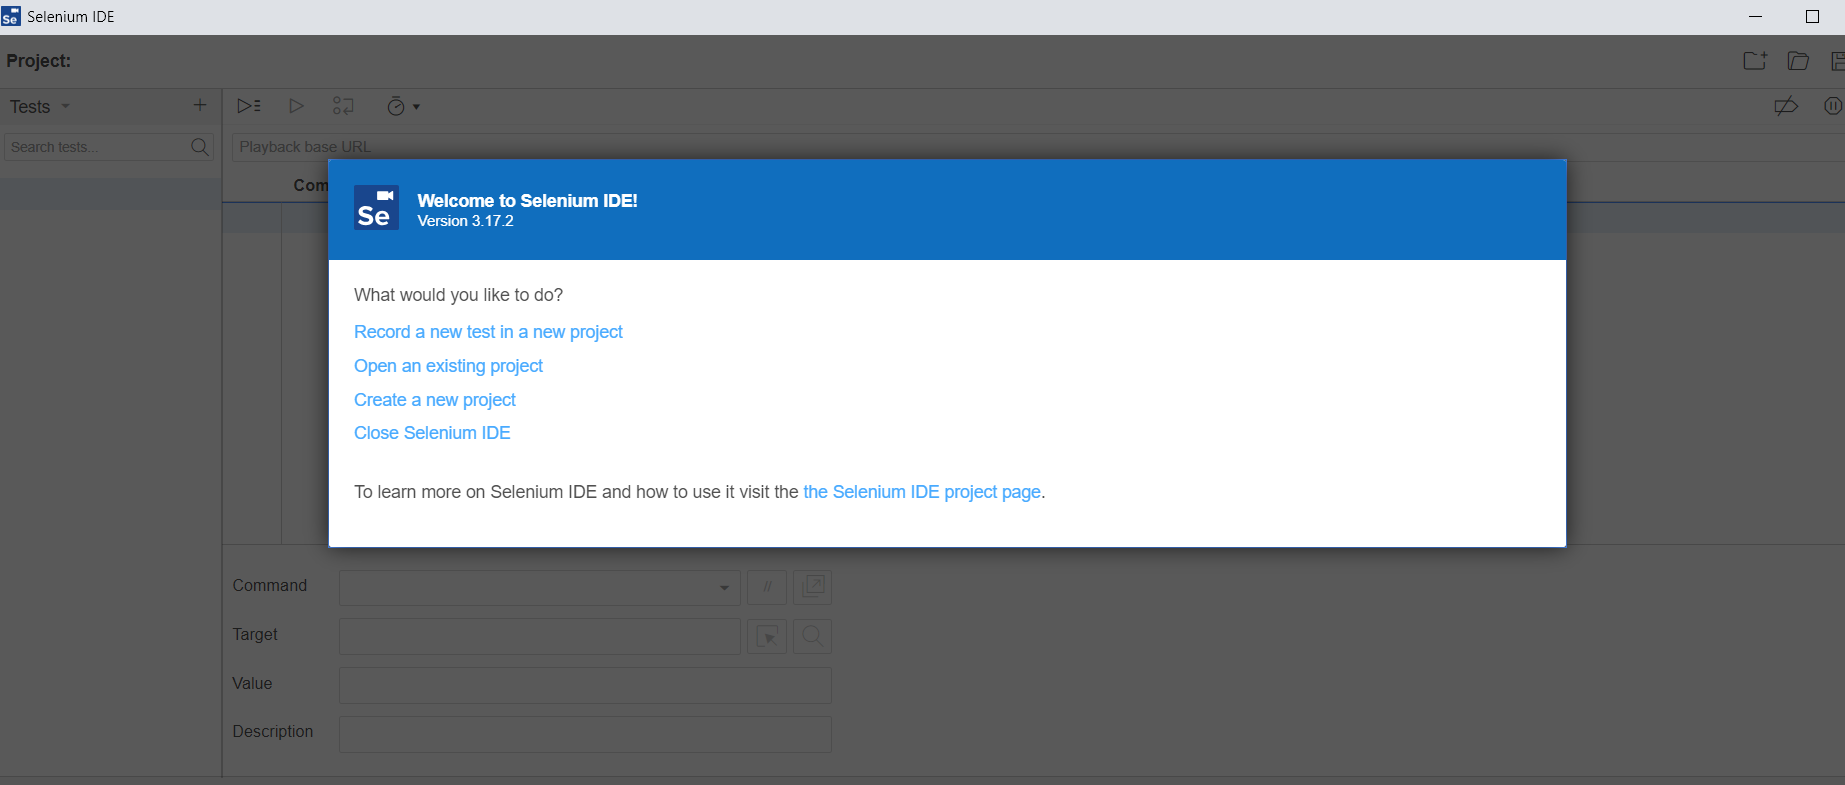
Recording a new test
Choose Record a new test in a new project, give the project a name (for instance CheckHomePageStaples) and specify the url of the site to test (https://www.staples.com/ in our case).
Start recording.
A new instance of the browser is initialized with the previously entered URL.
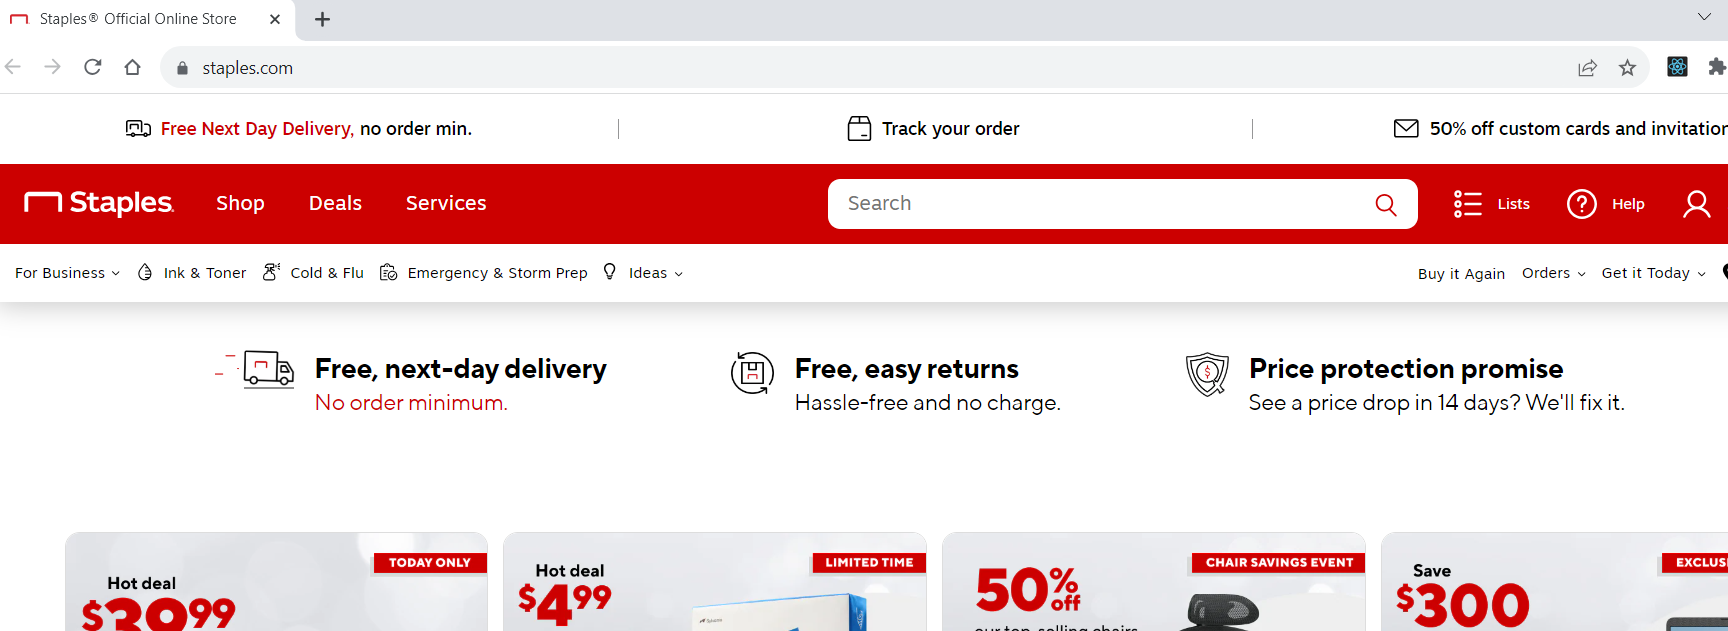
Replicating the precise scenario of test
- Navigate on the site, submit forms, click on a few buttons and so forth.
At this step, we need to replicate the steps of the precise scenario we aim to test.
Every time an interaction takes place with the site, Selenium IDE records it and stores it in a table of commands.

- When the scenario is completed, stop recording, as shown in the following figure.

Give the test a name (for example CheckSearchRedirect)
Click the three dots next to the test name, choose Export, select C# NUnit (or whatever) and save the file.
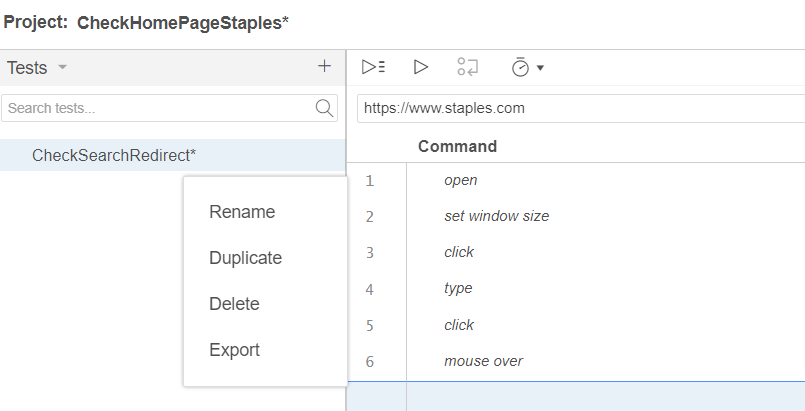
Herein lies the magic: the C# code is then saved in a .cs file and includes the selectors of the elements we interact with. Consequently, we effortlessly obtain a C# script, needing only adaptation to our context, including our specific waiting strategy.
 1[TestFixture]
 2public class CheckSearchRedirectTest {
 3  private IWebDriver driver;
 4  public IDictionary<string, object> vars {get; private set;}
 5  private IJavaScriptExecutor js;
 6  [SetUp]
 7  public void SetUp() {
 8    driver = new ChromeDriver();
 9    js = (IJavaScriptExecutor)driver;
10    vars = new Dictionary<string, object>();
11  }
12  [TearDown]
13  protected void TearDown() {
14    driver.Quit();
15  }
16  [Test]
17  public void checkSearchRedirect() {
18    driver.Navigate().GoToUrl("https://www.staples.com/");
19    driver.Manage().Window.Size = new System.Drawing.Size(1552, 840);
20    driver.FindElement(By.Id("searchInput")).Click();
21    driver.FindElement(By.Id("searchInput")).SendKeys("gift card");
22    driver.FindElement(By.CssSelector(".huFWMd")).Click();
23    {
24      var element = driver.FindElement(By.CssSelector(".standard-tile__hover .sc-1gktvoi-0"));
25      Actions builder = new Actions(driver);
26      builder.MoveToElement(element).Perform();
27    }
28  }
29}
Final thoughts
In this concise series, we explored the rapid setup of Selenium for performing UI tests, leveraging both Selenium WebDriver and Selenium IDE. We only delved into the fundamental features, leaving a multitude of advanced capabilities to be explored.